Art In The Kitchen
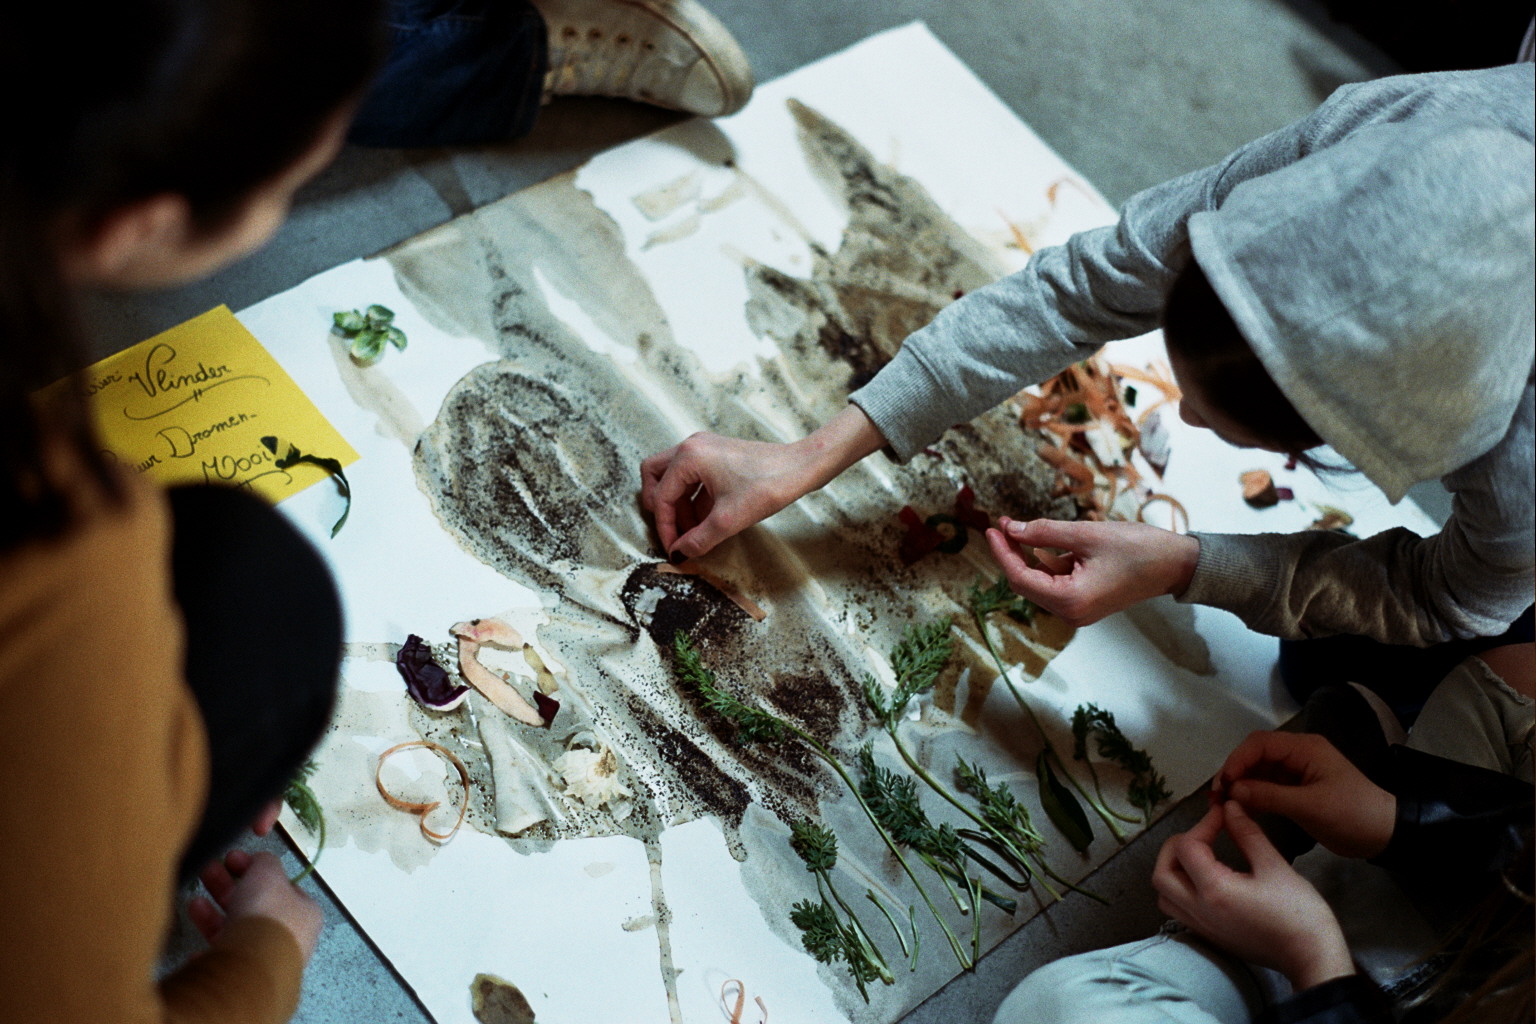
Sinds 2011 FoAM Brussels in collaboration with and supported by MUS-E Belgium started a long term project under the theme of Art in the Kitchen (Kunst in de Keuken). Art in the Kitchen is an Art-in-School programme, where professional artists work around the topic of cooking, kitchen and food in connection to art and science. The habits of eating, the culture of food, the similarities and differences depending on cultural backgrounds are in the centre of attention. The kitchen and kitchen related objects and ingredients become a starting point for children to operate in a creative way, get to know each other and work together towards a delicious result. The multiple ways of collaborating, looking and listening at each others works opens different ways to perceive surroundings trough critical thinking yet it remains an affectionate and playful process.
The aim of the workshops is to raise awareness about food culture, taste the unexpected, look beyond the understandable and play with what you can find in the kitchen, fridge or vegetable lot of your garden. Combining various artistic practices it’s an involving way to explore creative possibilities, challenge your self and create eye satisfying works. Using food as an inspiration these workshops are a great way to discover new experiences.
At the moment Art in the Kitchen trajectory counts its seventh edition and it is led by FoAM artist Rasa Alksnyte.
On this page you will find a collection of activities, methods and examples of the various workshops of Art in the Kitchen.
Get to know each other
As an outsider coming into the classroom mostly in the middle of the school year i find it important to have a number of methods and exercises to “break the ice” and get to know the kids.
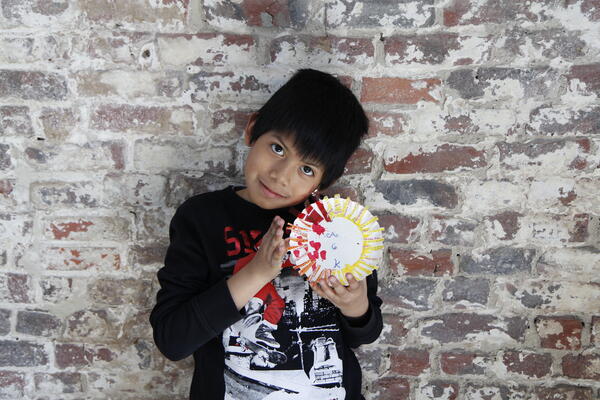
I have a photographic memory therefor it is important to me to see the names written somewhere. As a task i ask children to make a drawing or a collage of their favourite food on a piece of paper or paper plate using left overs from candy wrappings. When they are done i photograph each of them in the way i could see the face and artwork with written name on it. Later at home i can go through the pictures and memorise names by heart. At the end of trajectory i give these portraits to the kids. It is a great way to initiate a reflection about the whole process and activities done.
Another way to get to know each other is to encourage children to associate themselves with an object, animal or weather phenomenon. We sit in a circle and each of us has to introduce our self by saying name, talents and as what animal, veg or fruit you feel like today.
I try to ask these questions at the beginning of each session every time introducing a new task. Such as “as what favourite dish you feel like today and what noice would it make if it would be alive” or “can you rime your feelings with something related to food? (ik ben blij als een spiegel ei). This exercise takes only a few minutes but it give me a sufficient information about the energy and general mood of every child.
What is this?
https://fo.am/blog/2015/02/27/i-see-i-see-what-you-dont-see/
Photography
Cooking film
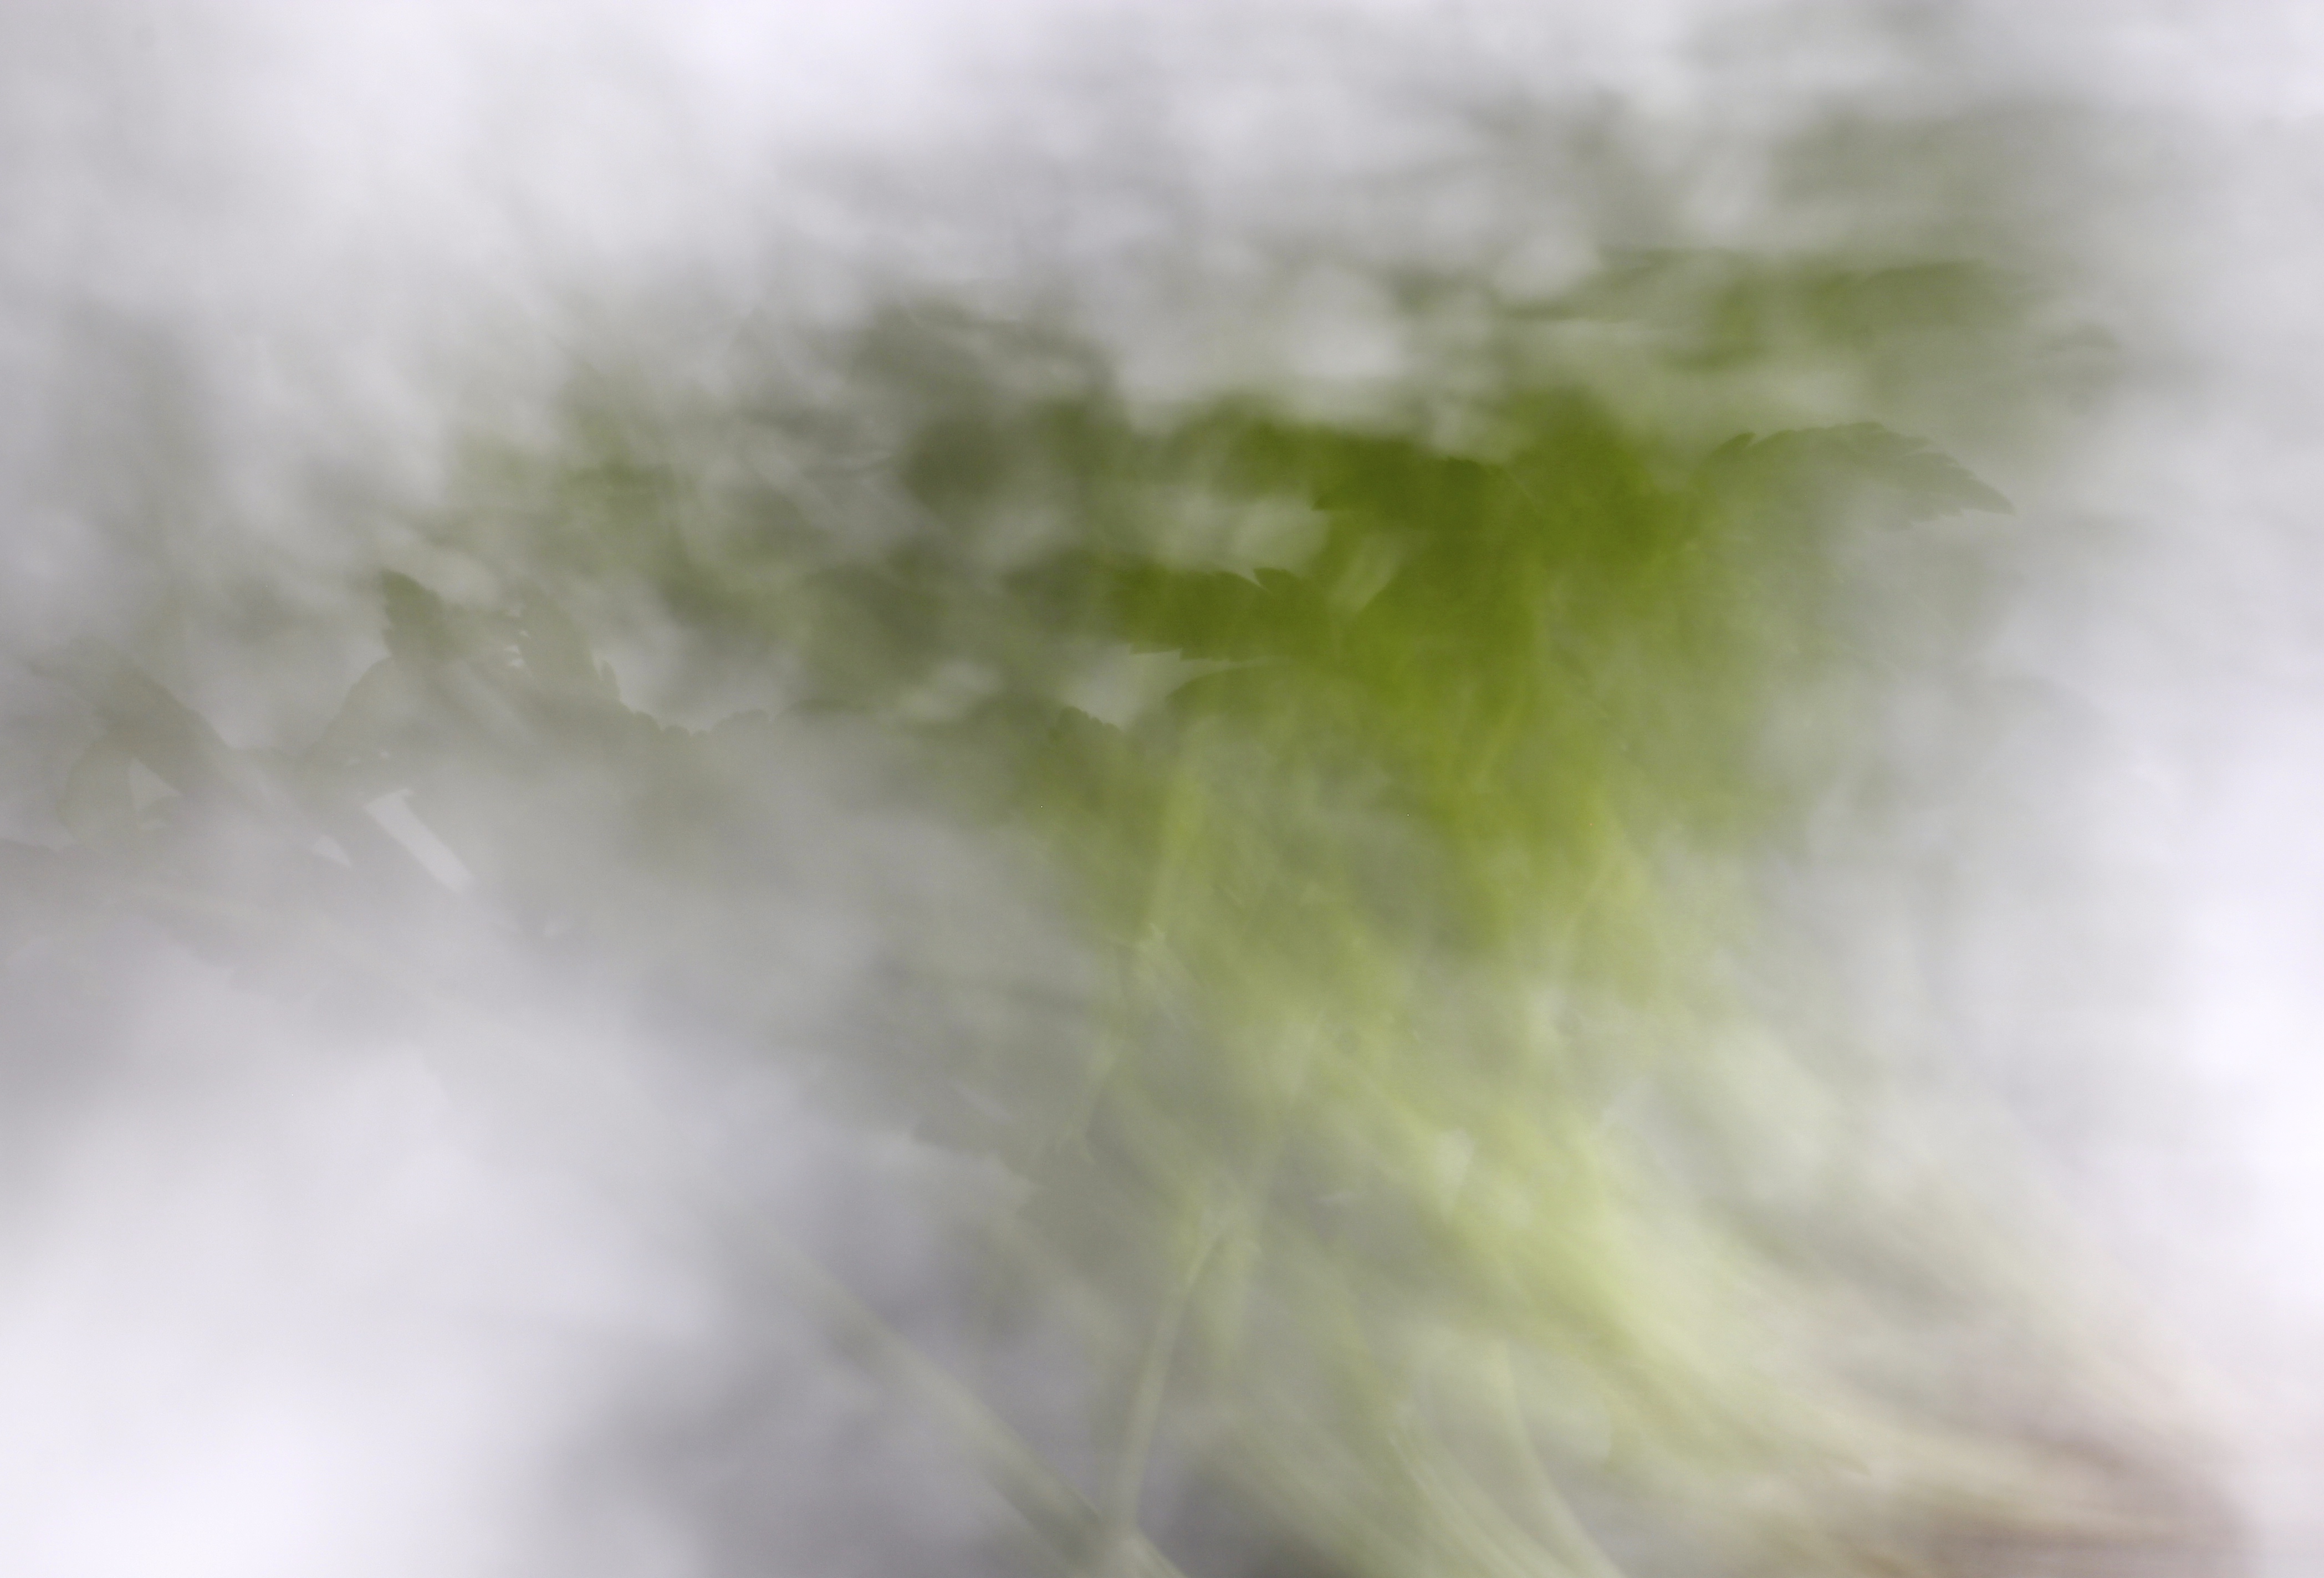
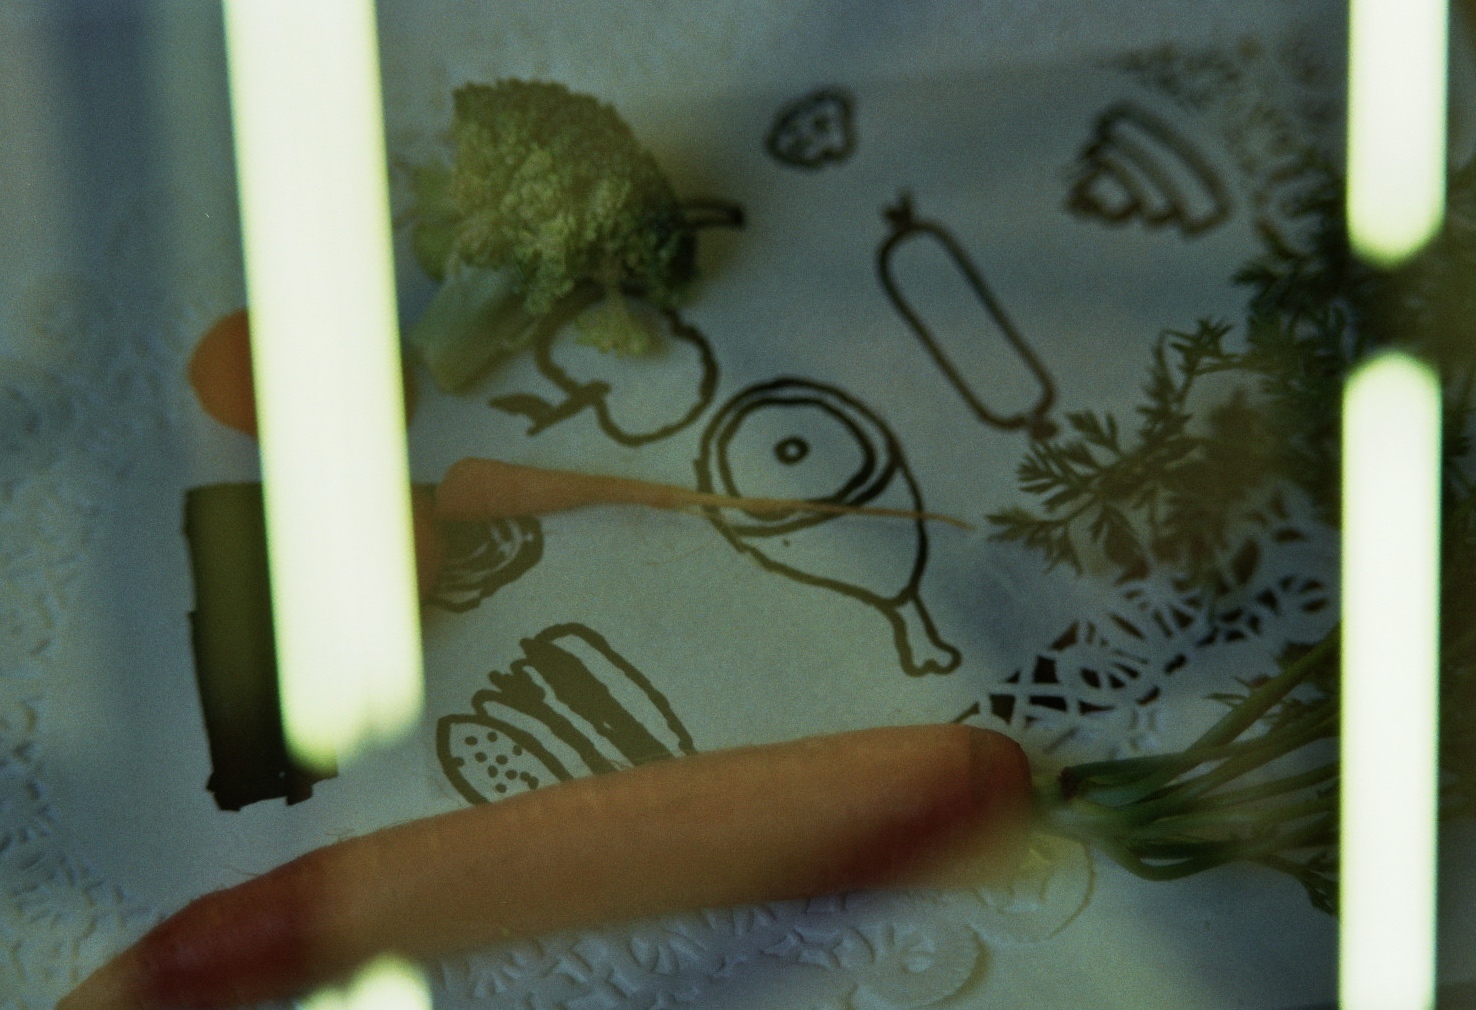
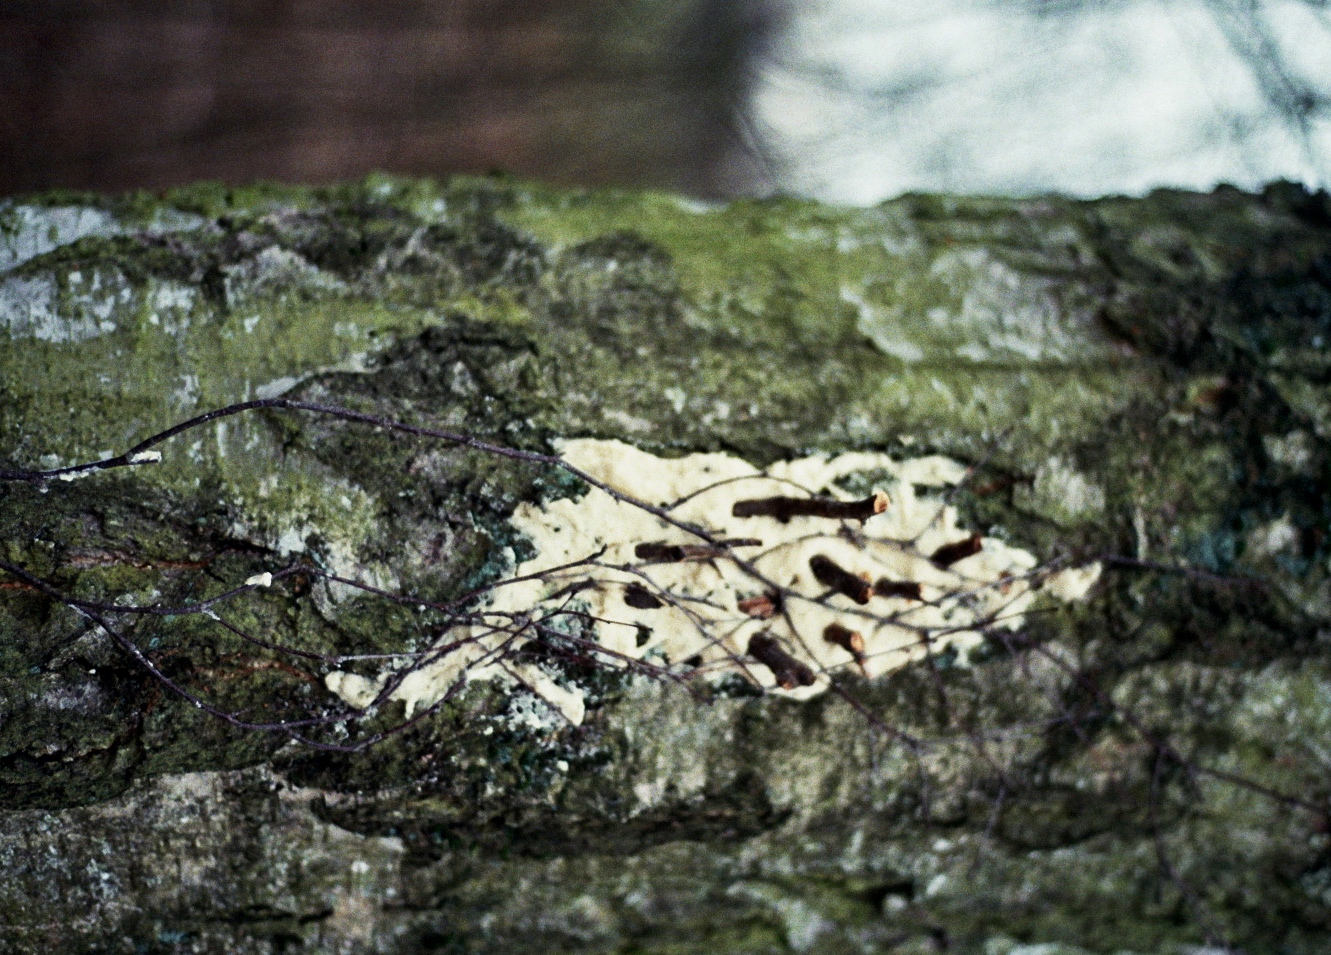
I like working with analog photography as it's offers many ways to improvise and “hack” the result. Cooking film before you take photos offers an exiting process and surprising results. For this activity you'll need one or more analog photo camera's , few colour film rolls, small pot, cooking stove, metal or wooden steamer, water, a few drops of vinegar (or bleach). Place your film rolls in the steamer above boiling water with vinegar and steam it for about 10min (the longer you cook it, the more diffused colours you'll get). Let it dry completely (i usually prepare film during one session and use it during the next one). Take children to a nice place to take pictures ( i like nature, so we mostly go to the forest or park). As working with one or few photo devises can be challenging i pair kids up: one takes picture and describes what did he photograph while the other one writes the description down. That way when photos are back they can trace it back who photographed what.
Double exposure
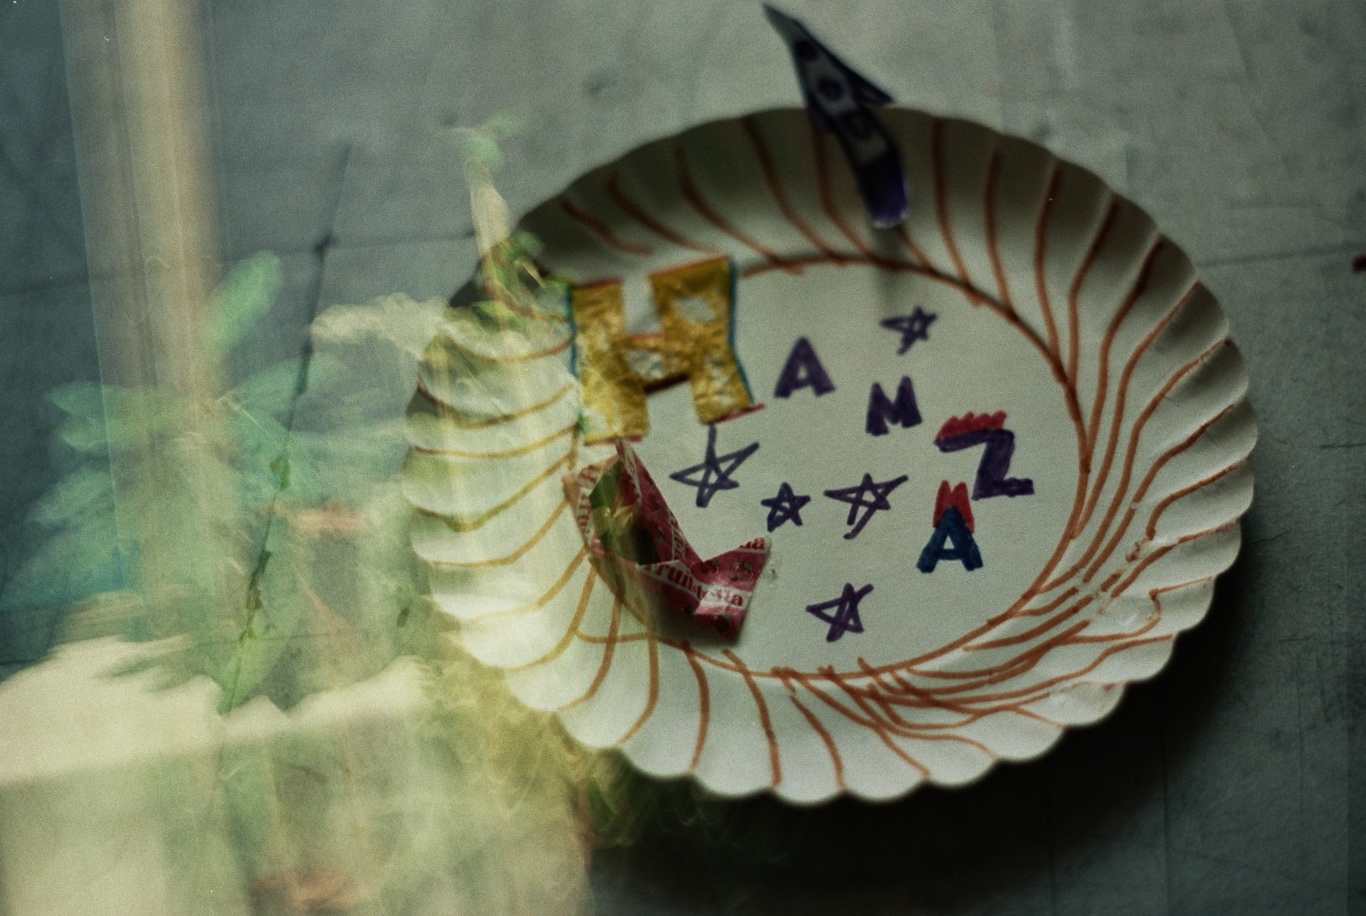
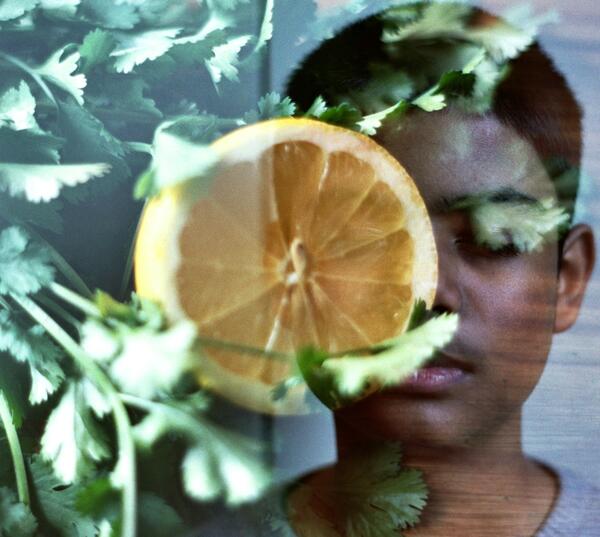
For this exercise you'll need analog photo camera+colour film, edible ingredients, colourful food packaging, small pieces of cloth to arrange as “Still nature” (this ca be bunch of green herbs, cans of food or anything els you have available). After explaining what “Still nature” is ask children to make their own display as if it would be a painting. If you don't have to many ingredients you can ask children to make a drawing and decorate that with some veg or fruit. When they are done ask them to photograph it with the analog photo camera. When the film roll is done, wine down to the beginning (make sure to stop just before the end/beginning so you have the “tong” still visible), put the film back in the camera and take pictures of something els (portraits works great this way but it can be anything els too). Working with analog camera can be tricky at first. Therefor sometimes i photograph one layer my self to asure at least one layer is photographed according to the light conditions.
Photo Filters from wrapping paper
With the question “How do we choose our food products in the shop?” we talk about the hidden powers of advertising and packaging. After ashort discussion i offer everyone a candy. We agree to eat it in te silence to experiment if this way it will taste even better. When the sweets are gone i ask again “so what do we do with the wrapping?” Designers spend great deal of time and energy to create an attractive casing for our products, producers spend lots of money and time to make it and then after unwrapping what we bought we mostly trough it away… Well i collect all kinds of colourful papers at home as it makes a beautiful material for many creations.
For this activity you will need: -a small sheet (max 15x15cm)of transparent plastic per kid (i collect it from flower wrappings) -colourful scraps from candy wrapping, fruit nets… -scissors -glue -elastic band -camera
Cut the scraps in small pieces. As smaller the pieces are, as more beautiful result will be. Glue a mix of small scraps onto the transparent film leaving at least one third of it not covered. Choose a well lit area in the room with a plain background for the photoshoot. Set your camera onto manual focus. With the help of elastic attache the freshly made lens covers onto the lens.Adjust the focus manually on the object you want to photograph. Experiment by turning the filter or moving to a different position. I like taking portraits this way as it makes children more relaxed when they know they will almost wont be recognisable.
Long exposure
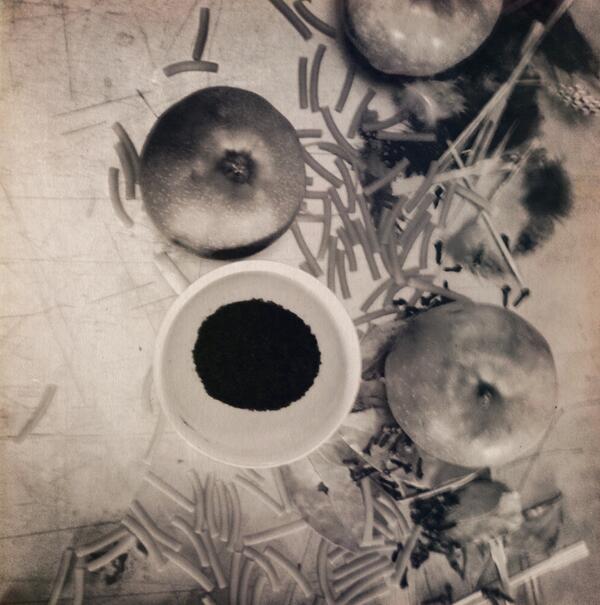
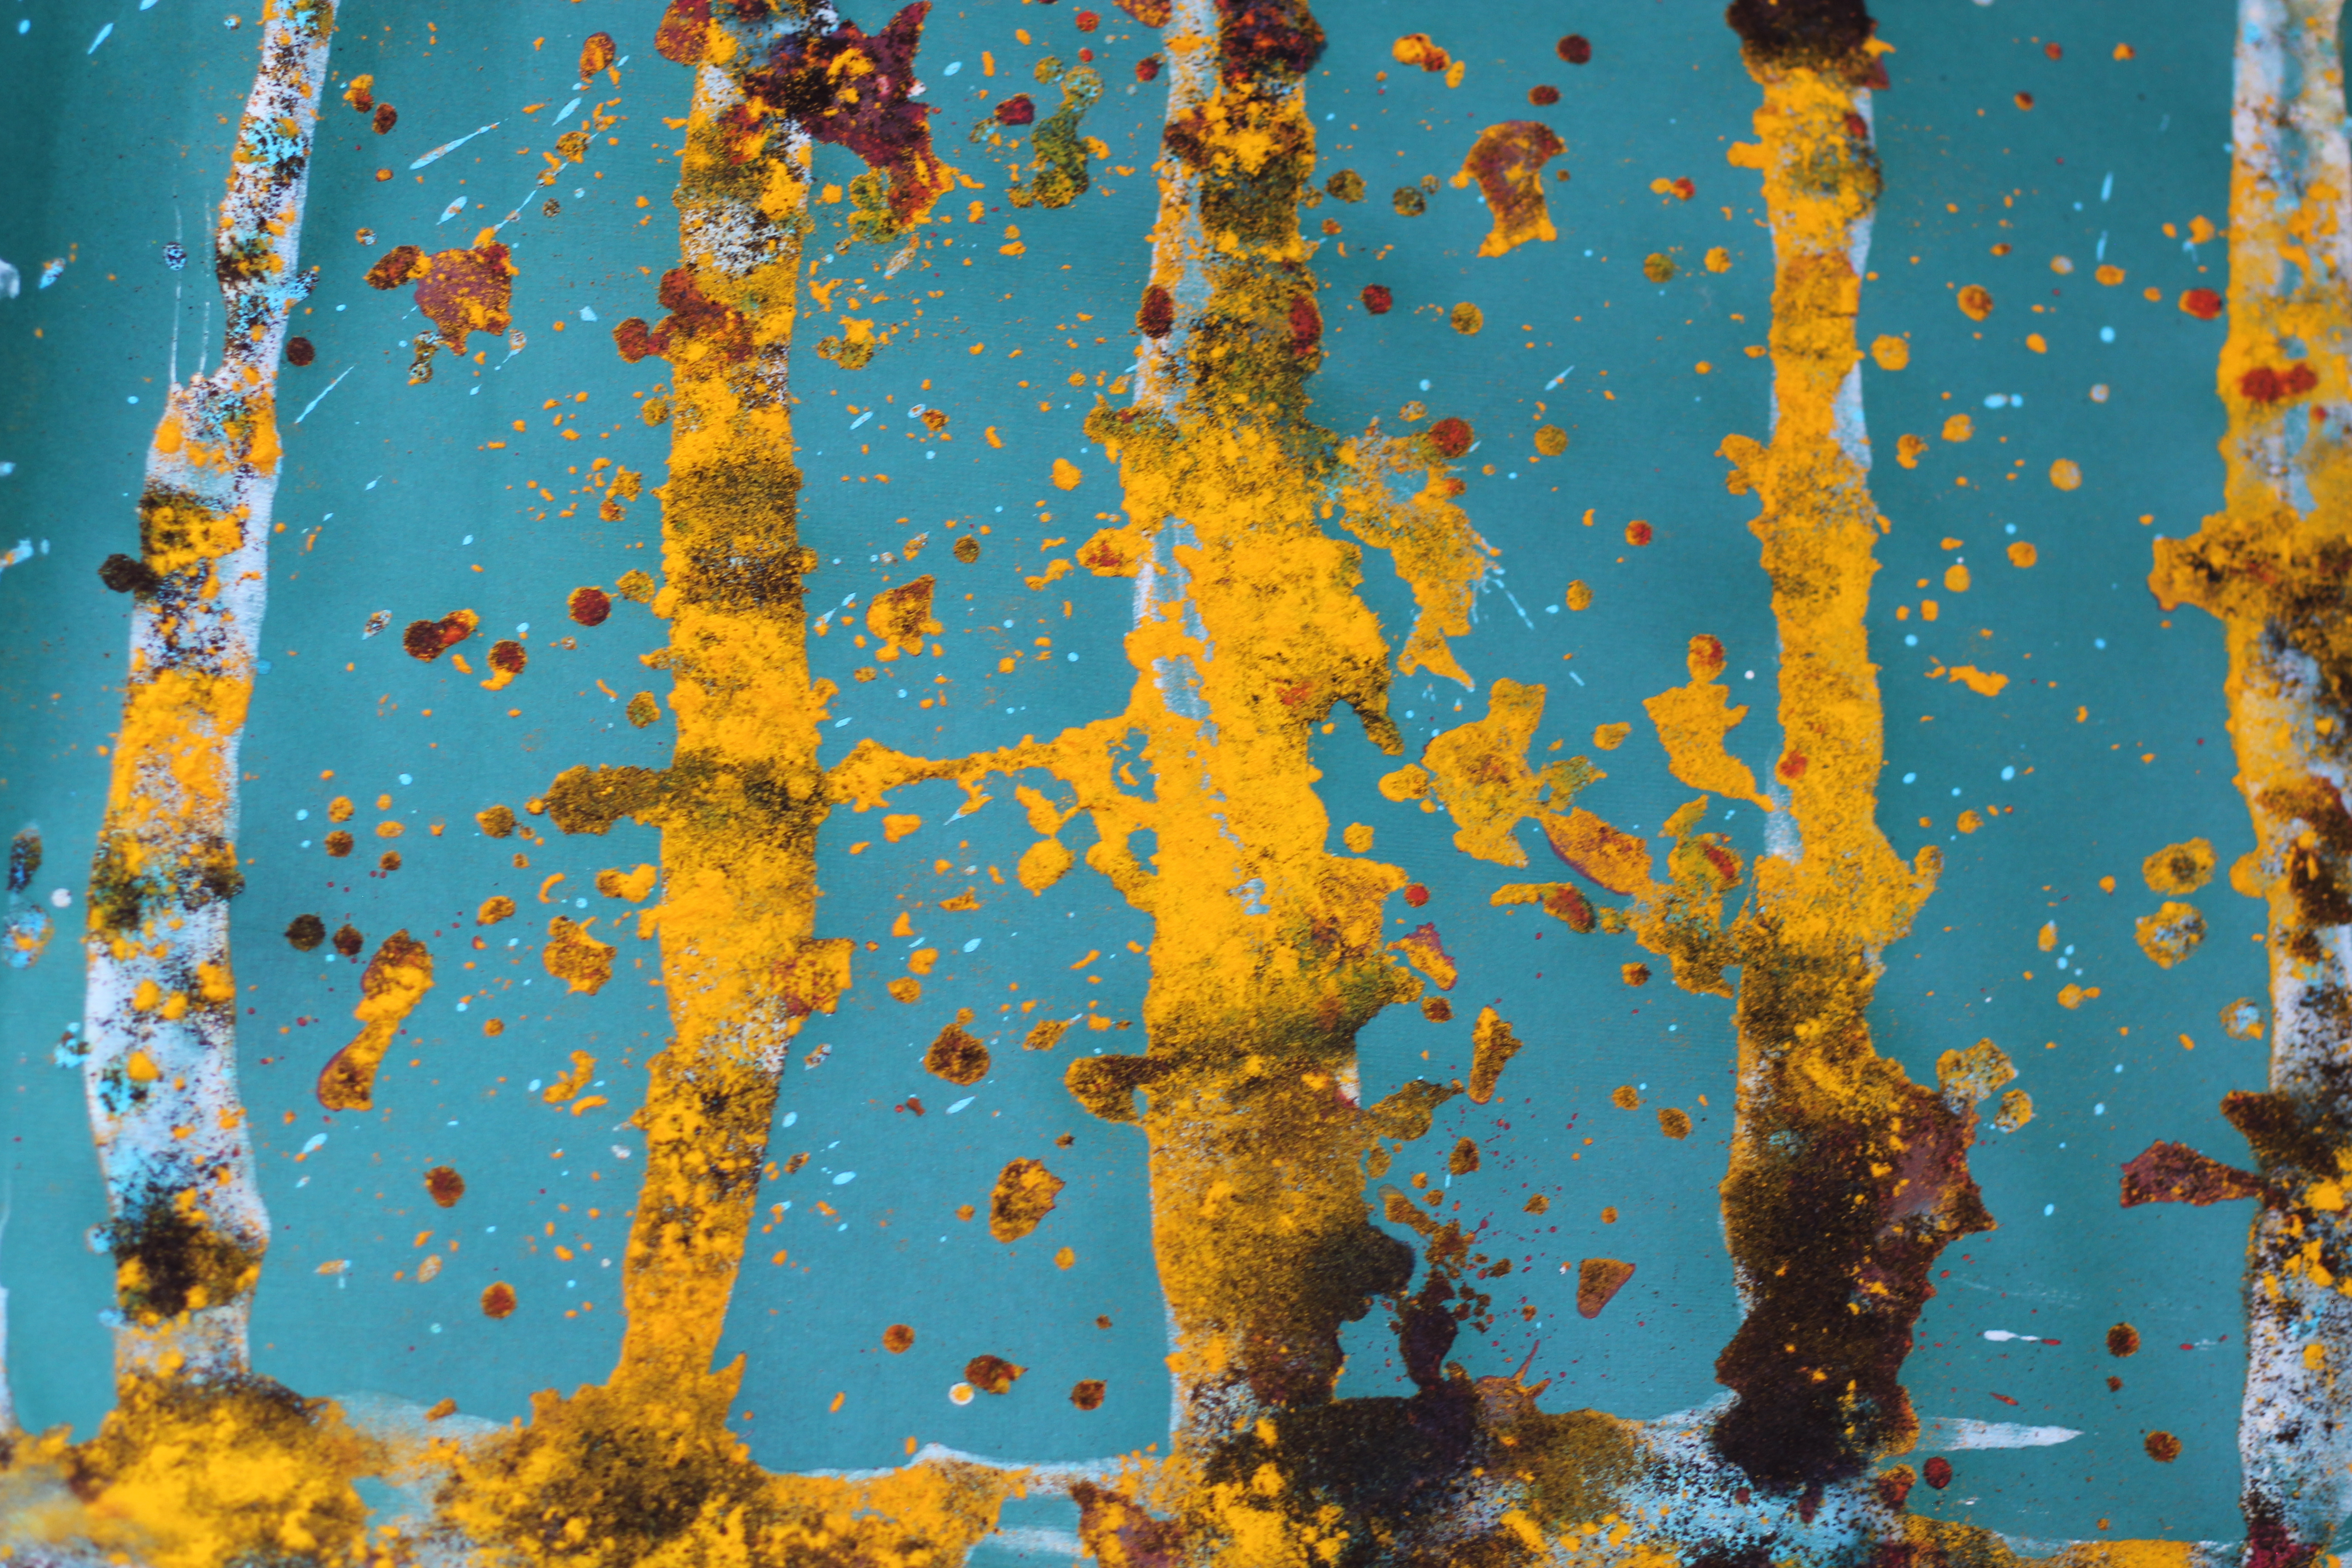
As a preparation for this activity i think of making something colourful with many small details. I like working with dough. For example it can be a small rough dough “cookies” on the colourful paper decorated with spices (cloves, start anise, juniper berries…)and drizzles with a few drops of edible paint. When that is doen display all works next to each other on a table without leaving any space in between.Try to mix all the colours as much as possible. Set the camera on manual and choose a long exposure time. Anything from a few seconds will work. If the room is to light (put you aperture to a smalles opening). Take pictures by experimenting on focusing on one part of colourful cookies and moving towards something els in the room. This activity takes time as each child should have enough time to understand how it works and experiment with the camera.
Collages
During the trajectory we make many pictures. As i mostly work with your teenagers they are not so keen to be photographed them self. I like working with portraits, so i came up with an idea of making a colages from taken portraits and some other visual work that we make during our activities. I call it a spaghetti collage. Print out two photos per child (one portrait and one something els) in the same format (A4 works fine). If you have a spaghetti maker rut the folded photos through it.(if you don't have it it can be cut by scissors). Take a larger sheet of paper (i usually use paper placemats) and let children to assemble a new image from cut pieces. To make works more fun i prepare a few small plates filled with edible colours and a few glasses or cups. The children dip chosen object into the colour and place it on the collage for different rings to appear.
https://fo.am/blog/2014/03/12/kunst-de-keuken-2014/
Dough
https://fo.am/blog/2012/02/27/kunst-de-keuken-2/
Spices and herbs
Scraps
Butter
Grain, beans and other dry food
Starch
Voice
Text
Cellebrations
How to be a teacher
-Don't be a teacher. Remember you are standing in front of the class or group only because you want to share something that you might know better. Keep in mind there are children that can be even better in something than you are or know more about something than you do. And it's your responsibility to notice it and encourage it. You can't make someone learn things. You can only invite them to observe and try out. You can hope they get inspired and will continue searching for ways to satisfy their curiosity. Sharing your knowledge rather then teaching is a lot more rewarding. I always think that i only propose some tasks or framework and let the participants to fill in the content. This way i get surprised by different input and ideas, and develop my methods further.
-Be prepared. Make sure you have all the material and enough of it for every participant. Display needed objects before children enter the class. Hide anything that is not needed to keep the concentration only on the activity. If material to be shared by several participants make sure they know where it is and it is reachable (some children are smaller than others and might feel left behind if they cant reach one or the other thing). If you are trying some new technique or activity, try i out for your self before hand. This way you will know where the difficulties lyes and estimate better the duration of the activity.
-Explain the task in a simple and precise way. I usually start with some story behind to “paint” the bigger picture about what are we going to investigate. Then explain the task per step. Some activities are more complicated therefor it makes sense to proceed one step at the time. Show the steps if needed. (I'm a little reluctant to show what the result has to be and concentrate more on how it can be done. I find a lot more intriguing when children have to find their own way around. However sometimes showing the examples are needed.) Ask someone from the group repeat what the task and steps are. If they can't you will know what els you have to explain.
-Trust the method.And trust the universe. You know the outcome you are looking for and you know how to get there. Even if you need to take detour keep kalm and have trust that at the end everything will be how it should be. If things become confusing and children feel stuck remind your self and them why are you doing this activity and what the bigger “picture/story” behind it is. Also ask what steps kan be skipped or added. the participants might come out with even better solution.
-Embrace the failures.Sometimes even with the activities that you know work well things get out of hands and take a different unexpected turn. Embrace those moments. Because they teach you more than an easy process. Talk to kids about it. Tell them how different this time was, how unexpected results became and how it made you feel or think. (penis story)
-Don't fall asleep on things that you've done over and over again. I am an artist. I like to invent things and be spontaneous. However during the teaching trajectory sometimes i have to repeat some of the activities over and over again. It is dangerous to become too comfortable. Therefor i'm always on a look out for the new things to try, new techniques to include and new stories to tell. If you do have to repeat some of the tasks, look at it for a different angle every time. This way it will become richer and still intriguing for you.
-Look at the results together.Talking about what you see is as important as making something. When the works are ready i gather kids around each work and ask what do they see, how it makes them feel, how this work is different than the others, what title would suit it best. In these conversations i try to encourage positive feedback. Instead of saying what didn't work or failed i invite everyone to think what could have be done better or different to achieve even more interesting result. I also find important to balance group dynamics during the conversation. Some kids are louder and like to talk a lot, others very timid and silent. I try to include all by asking the questions directly and making sure the rest of the class gives time and space for more quiet children to answer.
-Less is more. Working with paint, colours, powders or any other creative material is very exiting. So exiting that it might be difficult to stop. I find important to remind youngsters the main rule i have “Less is more” or “Know when to stop”. Practically it is to make them be aware of every step they make, take their time and critically evaluate the proccess. Stopping earlier rather than later insures more powerful and aesthetically pleasing result. However you can make this apparent only if you have examples of going to far and “ruining” the work by overdoing it.
-Be not afraid of wildness. Sitting still and quiet for children often feels like a punishment. When you invite them to explore and create be aware of the level of excitement in the group. Mostly it is really fun to create! Therefor you can't expect kids to be quiet and passive. It helps to make an agreement at the beginning of the class on how much noice we can all make/tolerate without making losing the respect for each other and disturbing the building. Playing fun but soft music ( this is my personal favourite and works very well in the class https://store.cdbaby.com/cd/thetoyboats )is another great way of creating amiable atmosphere and keeping shouting away.
-Have sufficient amount of cleaning materials. Being busy with any kind of crafts and art activities it is always important to keep in mind that things get messy, dirty and accidents do happen. It is a good idea to have a set of rubbish bags+tape for protecting tables, paper towels for quick absorption of liquids and a broom or cloth to clean the floor. It is also a good idea to remind kids not to wear their best clothes for the workshops.
Interesting links
https://www.accessart.org.uk/handle-with-care/
https://www.ted.com/talks/ken_robinson_changing_education_paradigms
https://ideapod.com/born-creative-geniuses-education-system-dumbs-us-according-nasa-scientists/

